Unlock the Shine: Easy-to-Follow Guide for Enamel Tray Grease Removal
Posted on 12/06/2025
Unlock the Shine: Easy-to-Follow Guide for Enamel Tray Grease Removal
Have you ever pulled out your enamel tray after a long baking session, only to be met with stubborn, sticky grease stains? Cleaning enamel trays can seem daunting, especially when baked-on grease just won't budge. Whether you're an avid baker, a home chef, or someone who simply enjoys preparing delicious meals, keeping your enamel trays sparkling clean not only ensures better flavor but also prolongs their lifespan.
This comprehensive guide will unlock the secrets to achieving pristine enamel trays, offering easy-to-follow steps, expert tips, and frequently asked questions about enamel tray grease removal. Say goodbye to elbow grease and hello to a gleaming finish!
Why Is Grease Removal Important for Enamel Trays?
Enamel trays are kitchen staples due to their durability, heat resistance, and non-reactive surfaces. However, when not cleaned properly, residual grease can:
- Promote bacteria and odor buildup
- Lead to stubborn stains and discoloration
- Impact the flavor and aroma of baked goods
- Reduce the non-stick efficiency of the tray
- Shorten the tray's usable lifespan
By mastering grease removal from enamel trays, you protect your investment and ensure every meal is prepared in a clean, safe environment.

Understanding Enamel Tray Grease: Why Does It Stick?
The glossy enamel coating on trays is designed to be non-porous, making it easier to clean than uncoated alternatives. However, under high heat, grease can carbonize and adhere tightly to the surface. Over time, these grease stains build up, making removal more challenging.
Key factors leading to stubborn grease:
- Overcooking or burning foods
- Repeated exposure to high temperatures
- Letting grease cool and harden on the tray
- Improper cleaning methods
Essential Supplies for Enamel Baking Tray Cleaning
Before diving into the cleaning process, gather the right tools and cleaning agents for effective enamel tray grease removal:
- Non-abrasive sponges or soft cloths
- Plastic scrapers
- Baking soda
- Dish soap
- White vinegar
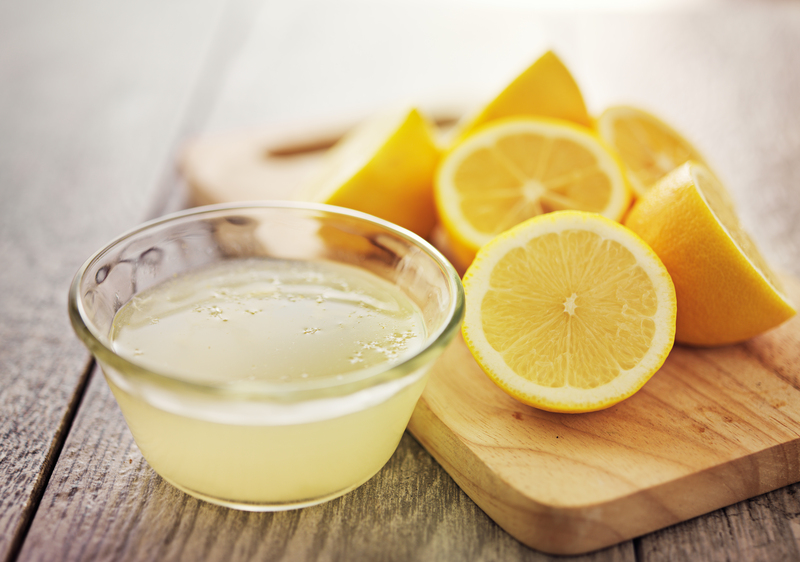
- Lemon juice
- Warm water
- Old toothbrush (for grooves and corners)
- Rubber gloves (for skin protection)
Tip: Never use steel wool or metal scouring pads on enamel trays, as they can scratch and damage the surface!
The Ultimate Step-by-Step Guide to Remove Grease from Enamel Trays
Step 1: Initial Rinse
- Remove loose debris: As soon as the tray has cooled down, use a paper towel or soft cloth to remove any loose food particles and surface grease. This prevents more grease from sticking during cleaning.
- Rinse under warm water: Hold the tray under a stream of warm (not hot) water to begin loosening hardened grease.
Step 2: Soak the Tray
- Prepare a soaking solution: Fill your sink with warm water and add a generous few squirts of dish soap. For especially stubborn stains, add one to two tablespoons of baking soda.
- Submerge and relax: Place the tray in the solution and let it soak for at least 30-60 minutes. For thick, baked-on grease, let it soak overnight.
Step 3: Gentle Scrubbing
- Choose your tool: Using a non-abrasive sponge or plastic scraper, gently scrub away softened grease. Focus on target areas but be gentle to avoid scratches.
- Pay attention to corners: Use an old toothbrush to reach grooves and edges where grease may accumulate.
Step 4: Leverage Baking Soda Power
- Make a paste: If stains persist, create a thick paste using baking soda and a little water.
- Apply and wait: Spread the paste over stubbornly greasy areas and let it sit for 10-20 minutes. Baking soda's gentle abrasiveness effectively breaks down grease without damaging enamel.
- Wipe clean: Remove the paste with your sponge, rinsing the tray thoroughly with warm water.
Step 5: Tackle Odors and Stubborn Stains with Vinegar or Lemon
- Vinegar rinse: For lingering stains or odors, pour a mixture of 1 part white vinegar to 2 parts water onto the tray and let it sit for 10 minutes. Scrub and rinse thoroughly.
- Lemon boost: Alternatively, rub a halved lemon across the tray's surface for a fresh, natural way to cut through grease and smells.
Step 6: Dry and Inspect
- Dry promptly: Wipe the tray dry with a soft towel to avoid water spots.
- Inspect for flawless shine: If traces of grease remain, repeat the soaking and scrubbing steps as needed.
Bonus Tips: Preventing Grease Buildup on Enamel Trays
To keep your trays sparkling after each use:
- Clean promptly after every use to prevent grease hardening.
- Use parchment paper or silicone baking mats as liners when roasting or baking greasy foods.
- Regularly inspect trays for chips or cracks, as damaged enamel is more susceptible to grease penetration.
- Avoid overfilling trays, which can cause spills and greasy messes.
Common Mistakes to Avoid While Cleaning Enamel Trays
- Using abrasive cleaners or tools: These can scratch the enamel, making future cleaning harder.
- Plunging hot trays in cold water:
- Sudden temperature changes may cause enamel to crack.
- Leaving trays soaking for days:
- Prolonged moisture exposure can weaken the enamel's bond.
- Using harsh chemicals: Stick with household staples like baking soda and vinegar to protect the enamel surface.
Homemade Cleaning Solutions for Enamel Tray Grease Removal
For those who prefer non-toxic and eco-friendly cleaning hacks, here are a few easy recipes:
1. Baking Soda & Vinegar Soak
- Sprinkle baking soda generously over the greasy tray.
- Add a splash of white vinegar--the fizzing action loosens grease quickly.
- Let sit 15-20 minutes, then scrub and rinse clean.
2. Baking Soda & Lemon Juice Paste
- Combine equal parts baking soda and lemon juice to form a paste.
- Apply to the greasy areas and wait for 10-15 minutes.
- Gently scrub with a sponge and rinse thoroughly.
3. Dish Soap & Hot Water Method
- Mix your favorite dishwashing liquid in hot water.
- Let the tray soak, then scrub off loosened grease using a soft brush or sponge.
Enamel Tray Care: FAQ for Grease and Stain Removal
Can you put enamel trays in the dishwasher?
Some enamel trays are dishwasher-safe, but it's generally best to wash them by hand. Dishwashers can cause chipping or dullness over time, especially if trays bang against other dishes.
What if grease is burnt onto the tray and won't come off?
Soak the tray in warm water with baking soda and dish soap for several hours (or overnight). For extra-burnt areas, use a baking soda paste and gentle, repeated scrubbing. Avoid harsh abrasives that could scratch the enamel.
Can I use oven cleaner on my enamel trays?
Most commercial oven cleaners are too harsh for enamel surfaces. If you must use one, check that it is enamel-safe and always spot test on a small area. Opt for gentler methods whenever possible.
How do I remove discoloration from my enamel tray?
Soak the tray with a baking soda and vinegar solution, or apply a lemon juice paste. Persistent stains may fade over a few cleanings. Consistent cleaning after each use helps prevent permanent discoloration.
Is it safe to use bleach on enamel trays?
Bleach is not recommended for enamel tray cleaning as it can weaken the enamel and discolor the surface. Stick to natural cleaners like vinegar, baking soda, and lemon.

Maintaining the Shine: Long-Term Tips for Enamel Kitchenware
- Store trays with care: Stack with soft cloth or paper towels between trays to avoid chipping the enamel.
- Use wooden or silicone utensils: These are less likely to scratch surfaces compared to metal tools.
- Wipe the tray dry immediately after washing to prevent water spots and streaks.
- Never bang or drop your tray; enamel coating can chip if dropped or hit.
Conclusion: Enjoy Sparkling Enamel Trays, Every Time
Mastering enamel tray grease removal not only boosts your kitchen hygiene, but also preserves the beauty and efficiency of your favorite bakeware. By following this easy-to-understand guide and utilizing safe, household ingredients, you can unlock the shine and say goodbye to baked-on grease for good. Regular maintenance, prompt cleaning, and a gentle touch are all it takes to keep your enamel trays looking--and performing--their best.
No matter how messy your next baking project gets, you now have the keys to a gleaming, grease-free enamel kitchenware collection!
Latest Posts
Brighten Up Your Home: Take Charge with Our Deep Cleaning Guide
Expert Techniques for a Pristine Car Wash at Home
Combat Mold: Tips for a Cleaner Bathroom


